Wo Long: The Battle Of Hulaoguan Pass flag locations
Where to find every Marking Flag and Battle Flag in The Battle Of Hulaoguan Pass
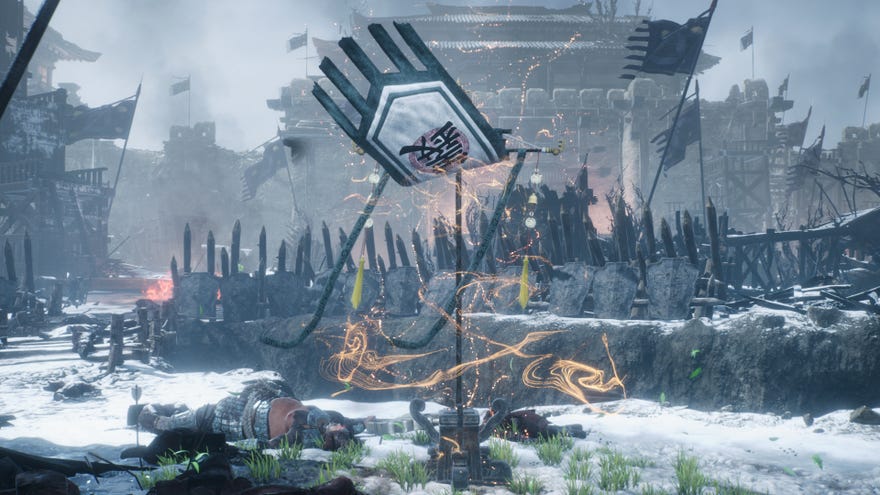
Looking for all the flag locations in The Battle Of Hulaoguan Pass region of Wo Long? If you're having trouble fighting your way through a particular level in Koei Tecmo's excellent Wo Long: Fallen Dynasty, the issue may be that your Morale Rank is too low to deal with the enemies there. You can help keep your Morale Rank high by planting all the flags across the region, but finding them - particularly in a large area like The Battle Of Hulaoguan Pass - can be rather tricky.
Below we'll walk you through every flag location in The Battle Of Hulaoguan Pass - all 6 Battle Flags and 7 Marking Flags in the region. So if you're stuck trying to hunt down every last flag and increase your Fortitude Rank as much as possible, then scroll down below to have all your confusion and frustration allayed.
Looking for flags in a different battleground? Check out our Wo Long: Fallen Dynasty flag locations hub page!
Wo Long: The Battle Of Hulaoguan Pass flag locations
Battle Flag #1
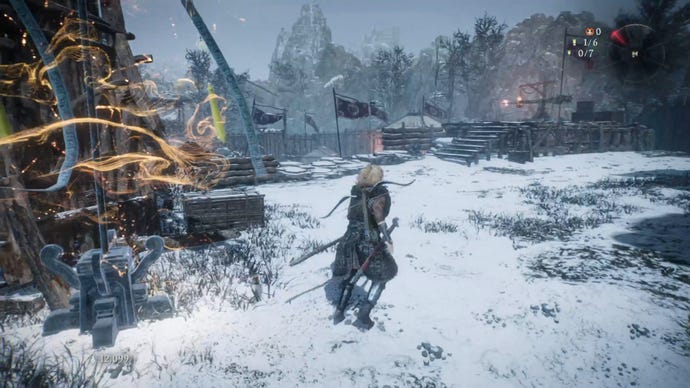
The first Battle Flag in The Battle Of Hulaoguan Pass battleground is located just a few paces from where you spawn, by the outpost tower.
Marking Flag #1
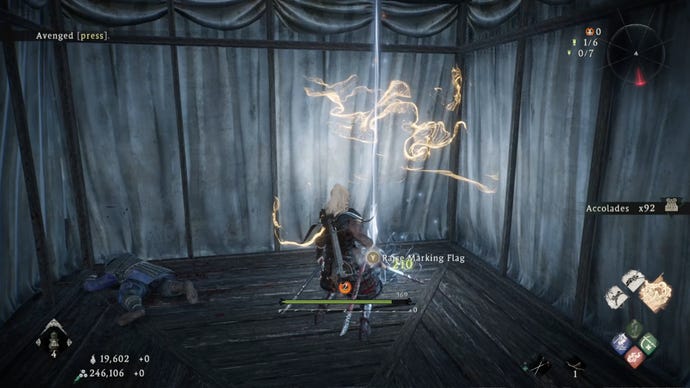
From spawn, enter the camp and defeat the enemies guarding the gate. Turn left at the gate instead of going through, and you'll see a tent with an enemy inside. Defeat the enemy and plant the Marking Flag in the corner of the tent.
Marking Flag #2
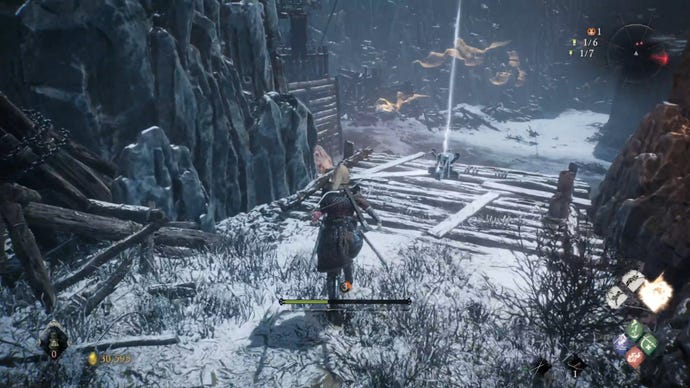
Continue along the path beyond the gate, and after a while you'll see the second Marking Flag on a raised platform above two enemies, at Morale Rank 6 and 7. To reach the flag, head left under the arch, turn right past the giant axeman, and turn right again at the ledge. Follow the path to reach the Marking Flag.
Marking Flag #3
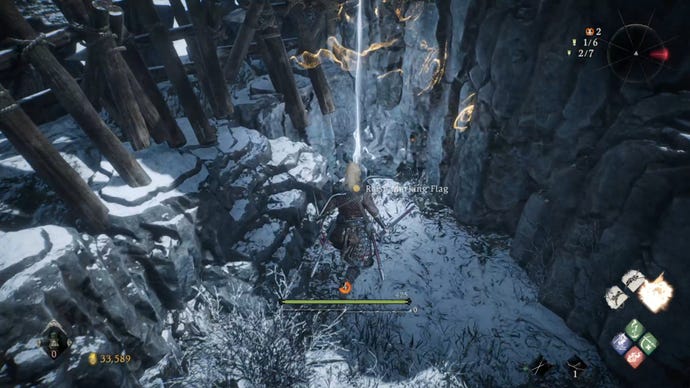
Go back to where you fought the giant axeman, and climb the ledge where you previously turned right. A short way into this new area there's another ledge of black rock that you can jump up. Drop down the other side of this ledge to see a well-hidden Marking Flag.
Battle Flag #2
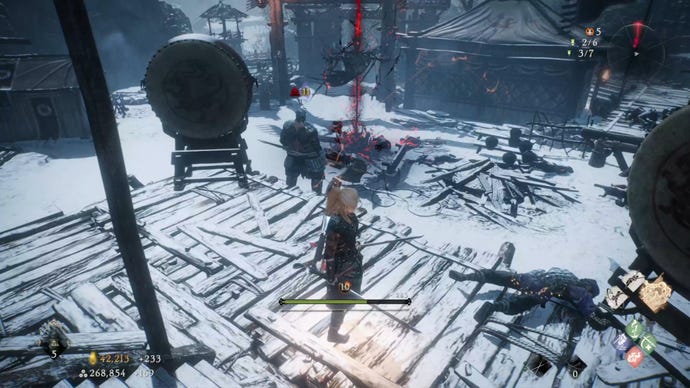
From Marking Flag #3, jump back onto the main path and head through the doors. You'll see in the centre of this group of buildings a clearing where a Battle Flag is guarded by another large axeman.
Battle Flag #3
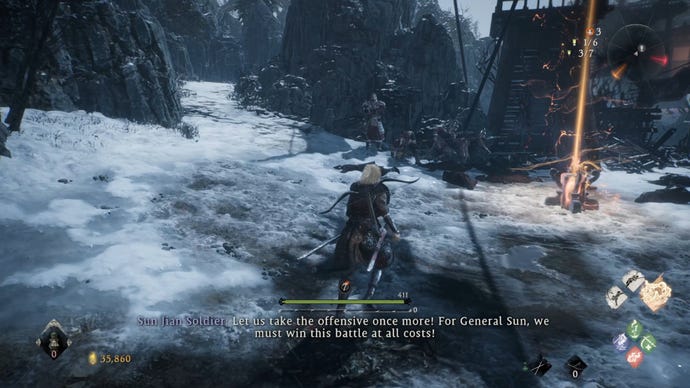
Go back to where you fought the first giant axeman, and this time head left instead of right. Immediately in front of you is a clearing with the next Battle Flag.
Marking Flag #4
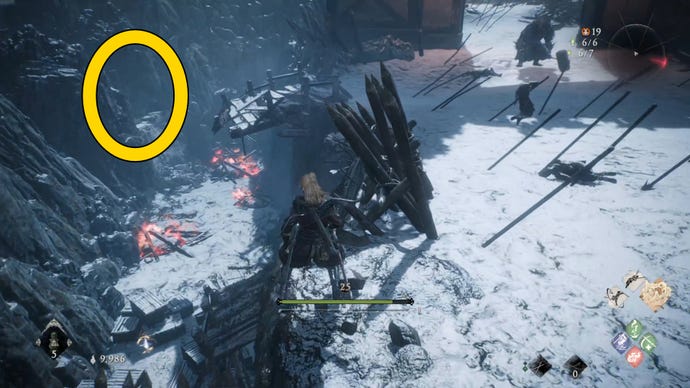
Cross the bridge from Battle Flag #3 and turn left. Just before the archway is a broken bridge. Jump down from it into the trench below, and climb the ledge on the left-hand side at the end of the trench. A short way up this side passage is another Marking Flag.
Marking Flag #5
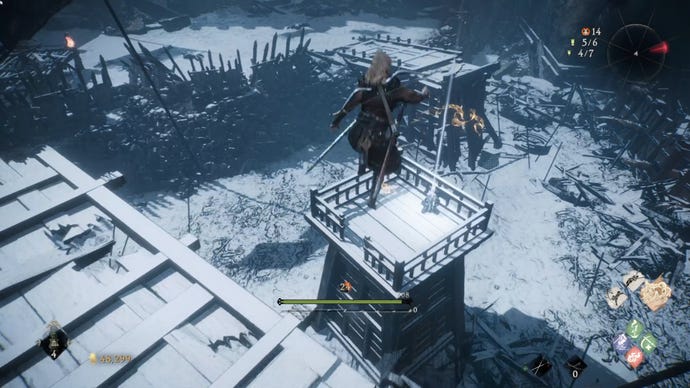
Return to the bridge next to Battle Flag #3. Standing on the bridge, you'll be right in front of a broken tower. Climb the tower, and rotate the wheel at the top to lower part of a drawbridge. From there you can jump down to the lower platform on your right, which holds a Marking Flag.
Battle Flag #4
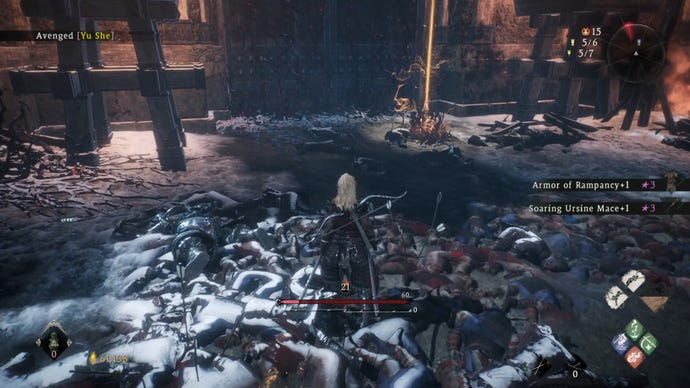
Return to the bridge next to Battle Flag #3. In front of you and slightly to the right is the massive castle gate. In front of the gate is a Battle Flag guarded by a miniboss.
You may want to save this flag for later, as it's the final Battle Flag before the (excellent) boss fight which ends this battleground.
Marking Flag #6
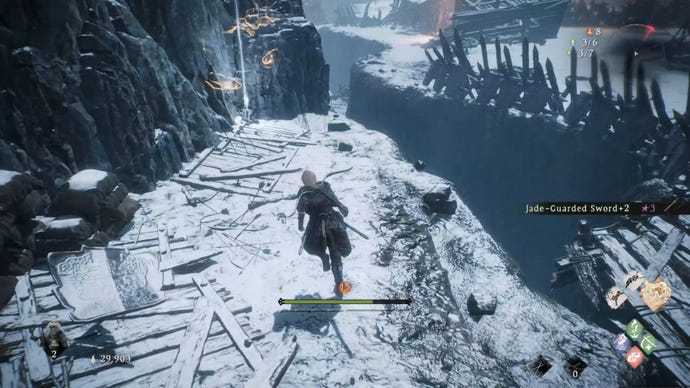
Facing Battle Flag #4, take the right-hand path behind you. A short way along the cliff-edge path you'll spot a broken bridge, and across the other side is a Changgui (tiger demon) guarding a Marking Flag.
Battle Flag #5
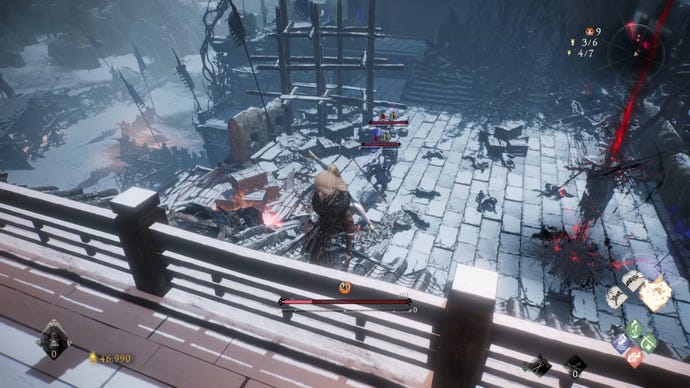
From Marking Flag #6, jump back onto the main path and continue heading onward. Jump up to the ledge on your left where the warlock can be backstabbed, then use the ballista to break the wooden wall directly in front of you, freeing up a path to reach the castle battlements.
Once on the battlements, head through the first building to reach a Battle Flag guarded by numerous enemies, including a warlock and a demonized officer.
Battle Flag #6
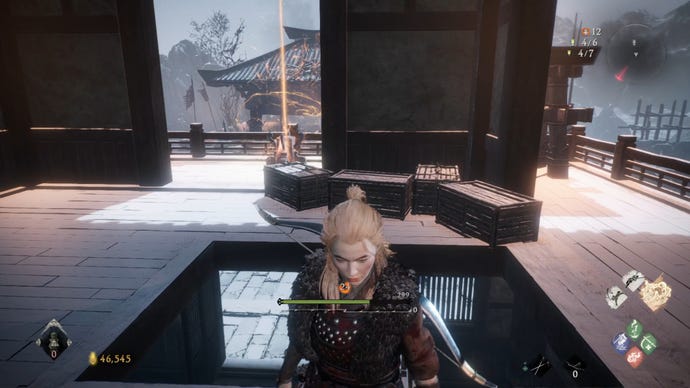
From Battle Flag #5, continue heading further along the battlements, and once you're past the second building, look back at it and you'll see a Shitieshou inside. Clear the room of enemies, then climb the ladder to reach the final Battle Flag.
Marking Flag #7
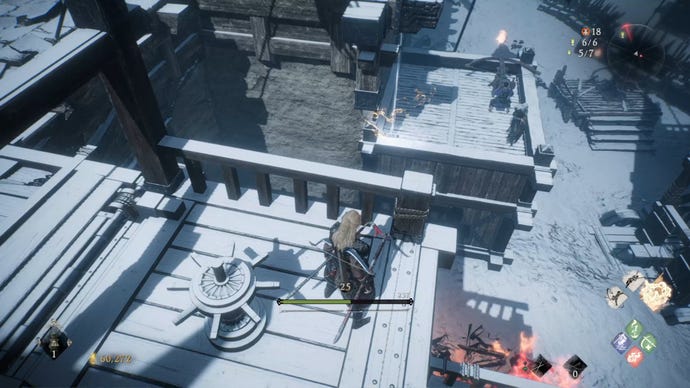
Climb onto the awning directly behind Battle Flag #6, and turn left. Once you reach the edge, look down and you'll see a platform with a warlock and an enemy using a ballista. Jump onto the platform and kill both these enemies, and then plant the final Marking Flag on this platform.
That's every single Marking Flag and Battle Flag in the Battle For Hulaoguan Pass battleground of Wo Long. Be sure to check out our guide on all the Wo Long Shitieshou locations while you're here, so you can gain useful rewards from the adorable panda demons scattered across the various regions of Wo Long.
