Valheim: How to set up your own dedicated server
Set up your own Valheim server with these easy steps!


How do you set up a dedicated server for Valheim? Valheim took the survival game space by storm upon its release, breaking new concurrent player records every few days for quite some time. And it's clear that a lot of the appeal comes down to how easily you can set up your own Valheim dedicated server and play together with your friends.
If you're a bit confused about the whole idea of dedicated server hosting, or how to set up or join a dedicated server, this is exactly the guide for you. Below we'll walk you through how to turn your current world into a dedicated server, how to port-forward and allow ports through your firewall, how to make yourself admin, and how your friends can join your game once it's all set up and ready to play.
How to play Valheim multiplayer
If you just want to play Valheim in basic multiplayer, then you don't need to bother with setting up a dedicated server. All you need to do to host a multiplayer session is tick the "Start Server" button on the world selection screen in Valheim.
You can also choose to make it a Community Server with the button below, which means it will show up in the Join Game screen for other players (but only those with the password can join).
Once the world has loaded, you can invite your friends either through the Steam overlay or by sending them the Join Code for your server. You can see your Join Code at the top of the pause menu screen.
What is a Valheim dedicated server?
There are no official multiplayer servers in Valheim, so when you play Valheim in ordinary multiplayer (as per the above steps), you're playing on a temporary server that is automatically set up by the game on the host player's PC or console.
But this has some issues:
- The host has to be logged into the server for it to run.
- The host has to re-invite their friends every time they start the server.
- Playing the game and running the server simultaneously can impact performance.
This is where dedicated servers come in. A dedicated server is a Valheim server that you set up yourself on a machine of your choosing. There are several advantages to this - one of the biggest is that you can host the server on one machine and play on another machine, splitting the workload between the two and potentially getting better performance while you play.
You won't need to re-invite your friends at the beginning of each session, and your friends can join the game and play even while you yourself are not playing Valheim. Time is also paused while no players are on the server, so you don't need to worry about time passing and your builds getting destroyed while no one is online.
How to set up a Valheim dedicated server
The only real downside to setting up a dedicated server to play Valheim is that there are a few steps to set one up in the first place. But we're here to make that job easy! Follow these easy steps to learn how to host your own Valheim dedicated server.
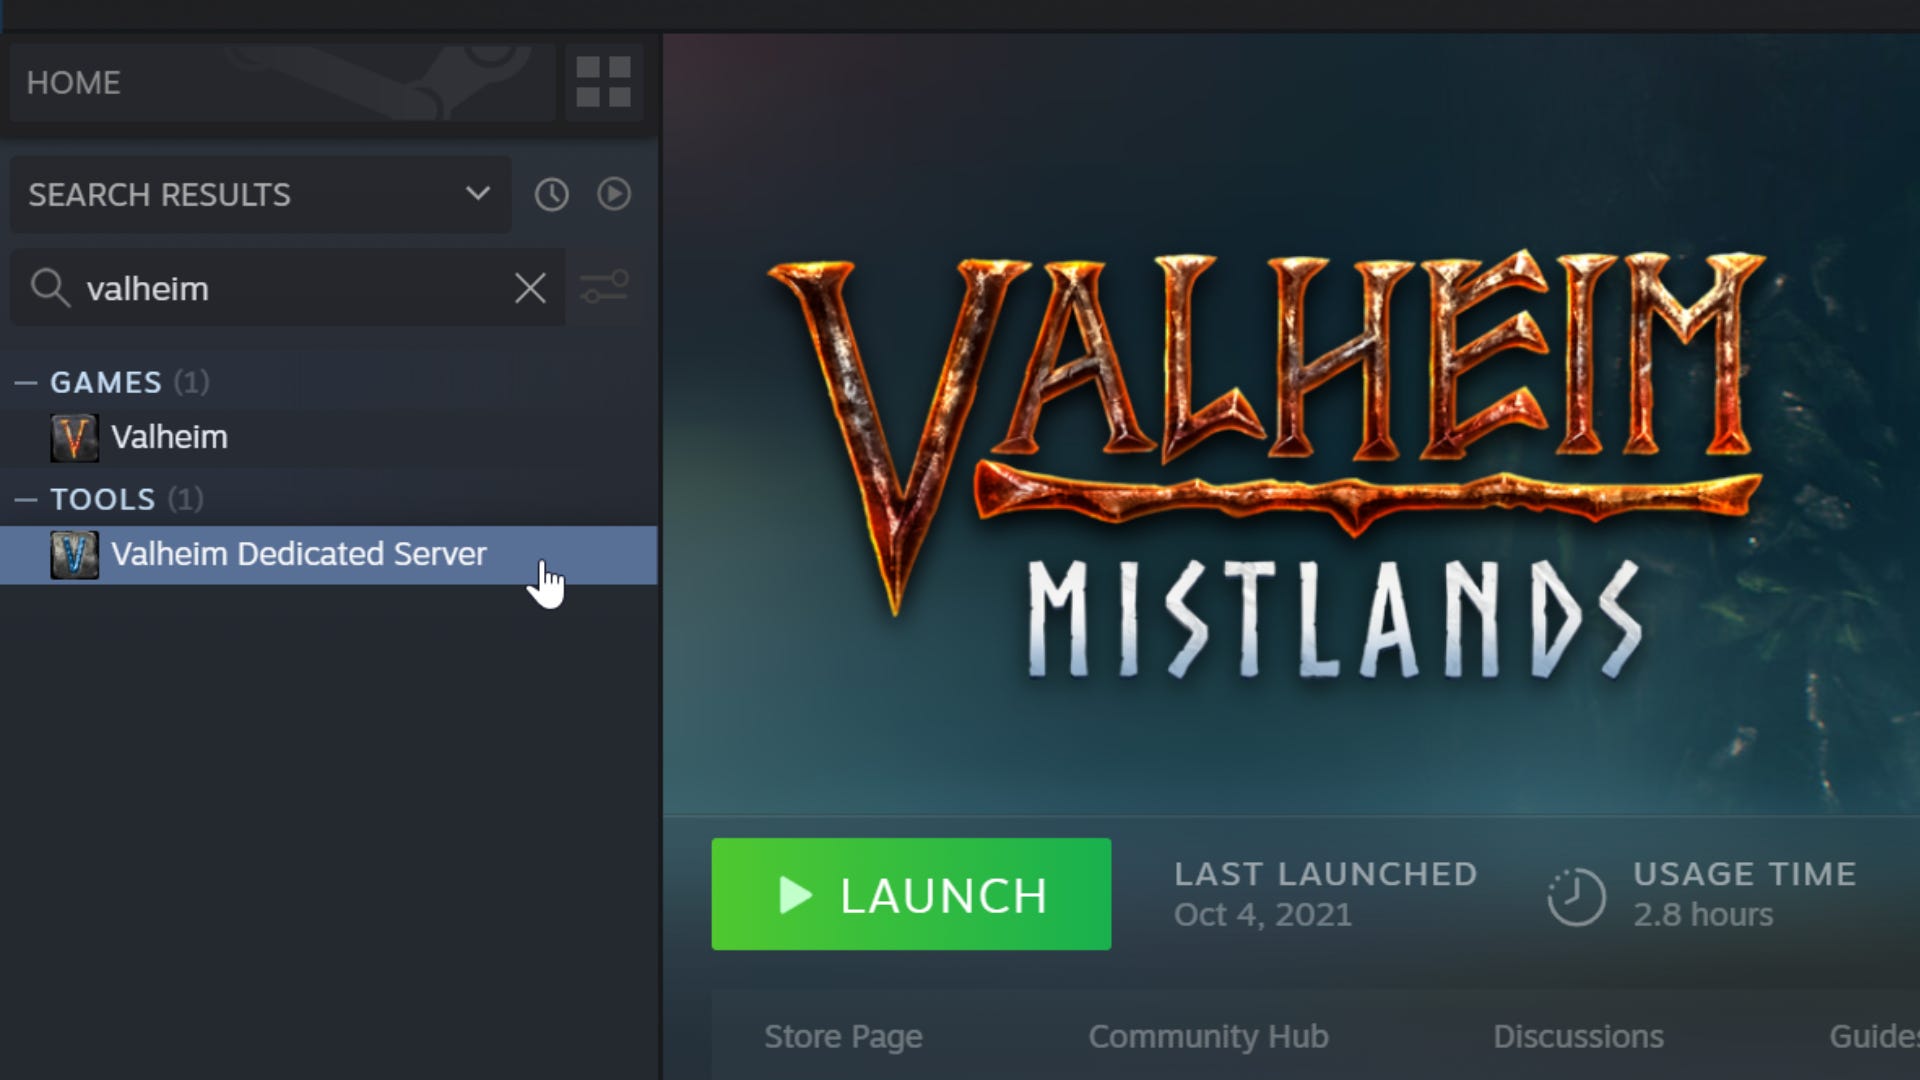
1. Install the Valheim Dedicated Server tool.
Download and install the Valheim Dedicated Server tool on Steam, on the PC that you want to host the server. Everyone who owns Valheim on Steam will also have a copy of the Valheim Dedicated Server tool in their Steam Library, so a quick search for "Valheim" in your library will bring it up.
2. Edit the "start_headless_server" file.
Once the Valheim Dedicated Server tool is installed, right-click it in your Steam Library and go to "Manage -> Browse Local Files". There you'll find a file named "start_headless_server". Make a backup of this file somewhere safe on your PC, and then open up the original file in Notepad.
Find the line that starts with "valheim_server" and change what's in the quotes after the following words:
- -name: Enter a name for your server.
- -world: Enter a name for your world. If you're using an existing world, enter that world's name.
- -password: Enter a password that is distinct from the server and world names.
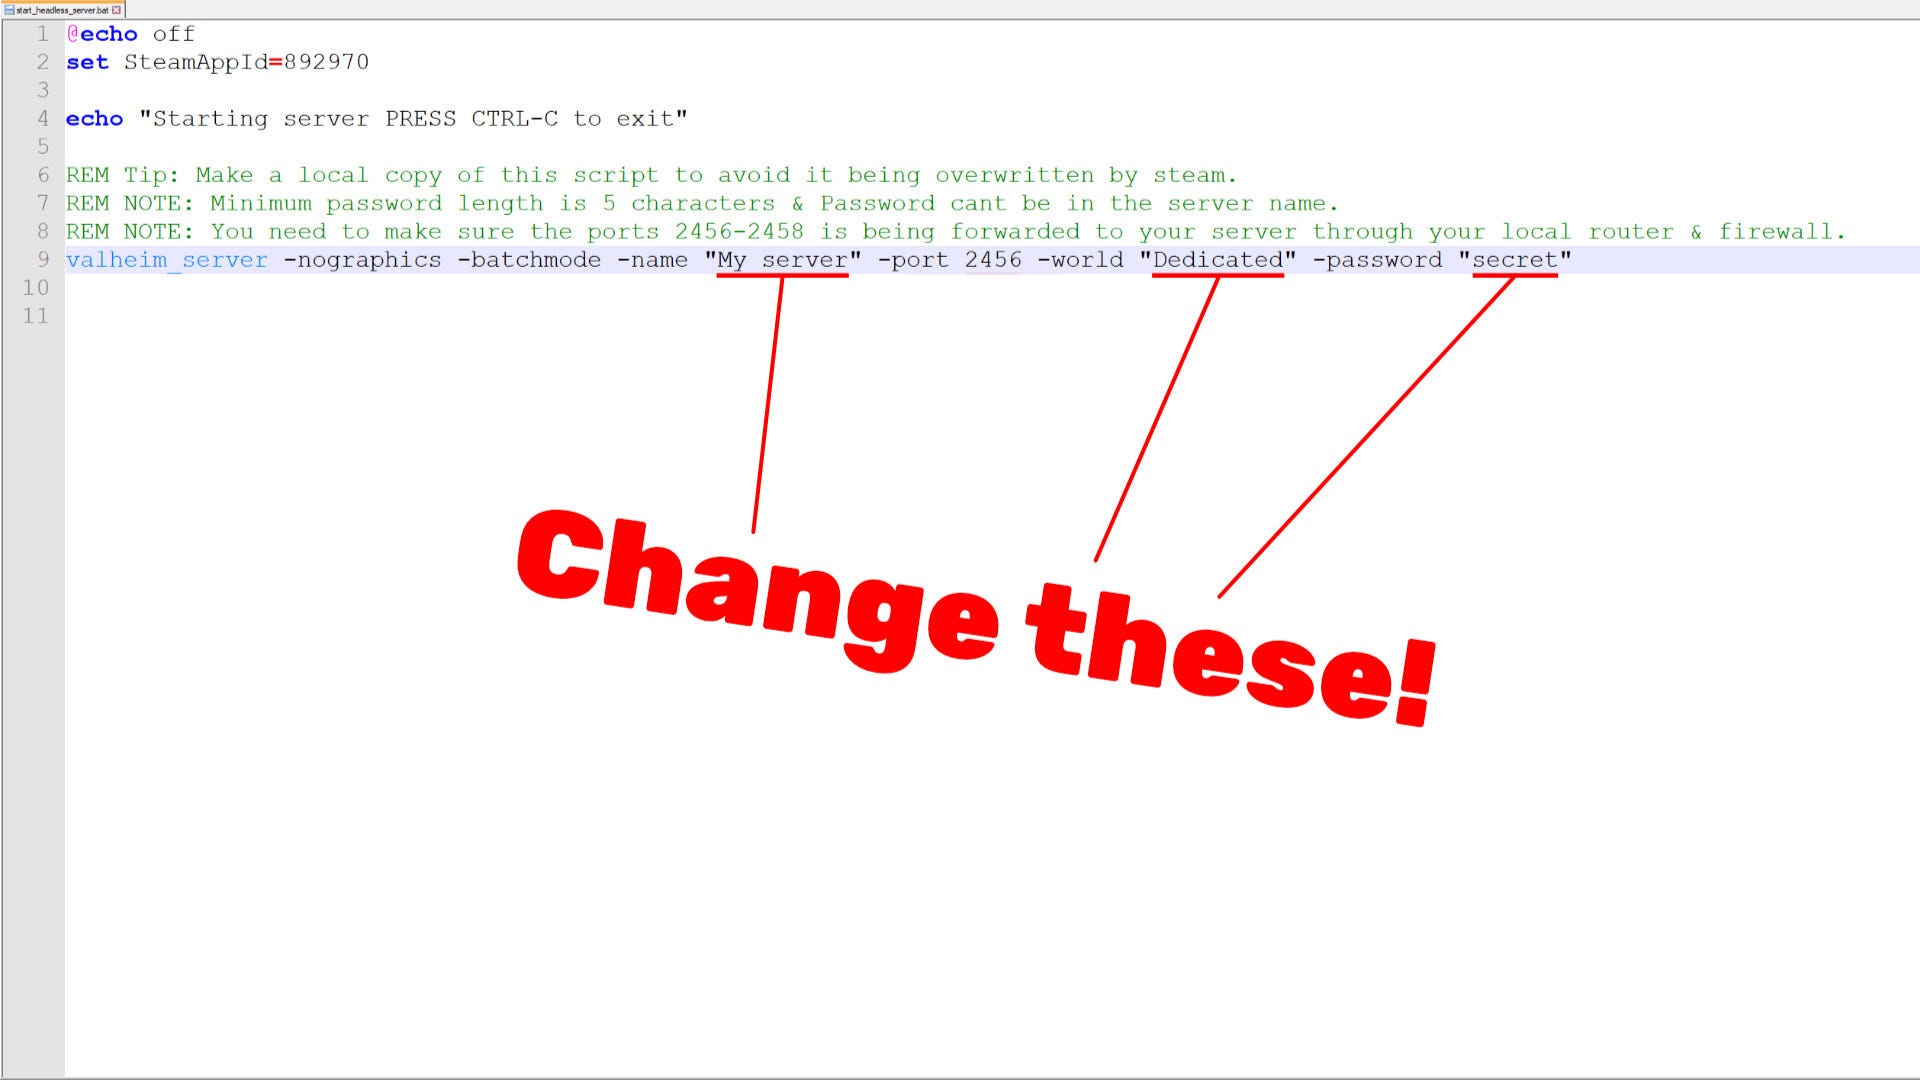
Then save and exit the file.
3. (Optional) Copy the existing world files to your host machine.
If you want to turn your current Valheim world into a dedicated server, then you need to make sure your world files are on the PC that is hosting the server. If you're hosting and playing on the same machine, you can skip this step.
Open up Windows Explorer and type "%userprofile%\appdata\locallow\irongate\valheim" (without the quotes) into the search box.
Then copy all of the files related to your desired world, and paste them into the equivalent worlds folder on your host machine.
4. Find your IP Address.
To find your IP Address, hit "Start+R", type "cmd", and hit Enter. In the window that appears, type "ipconfig" and hit Enter.
Make a note of the following two IP Addresses:
- Default Gateway (for most people it is "192.168.0.1" or "192.168.1.1")
- IPv4 Address
If you want players outside of your local area network to join your server, then you should also make a note of your External IP Address to send them. To find this, just go to What Is My IP Address and use the address it prints for you.

5. Set up Port Forwarding for friends outside your house.
In order for players who aren't in your own house to start playing on your dedicated server, you need to do two more things:
- Log into your router account and set up Port Forwarding for ports 2456-2458.
- Allow ports 2456-2458 through your machine's Firewall.
To set up Port Forwarding, open up a browser window and type in your Default Gateway IP Address. Then hit Enter to bring up your router tool. Login to your router and then set up Port Forwarding for the ports 2456-2458, for both TCP and UDP. The process depends on your router, so be sure to search online for how to Port Forward on your specific network and router type.
6. Allow the Ports through your Firewall.
Next you need to let those ports through your Firewall. To do so, follow these steps:
- Hit Start+R and type in "wf.msc", then hit Enter to bring up your Firewall Advanced Settings.
- Click on "Inbound Rules", then right-click it and select "New Rule".
- Select "Port", then "TCP", and type in the specific local ports "2456-2458". Select "Allow the Connection", keep all the boxes on the next screen ticked, and give the rule a name and click Finish.
- Repeat the process to set up another rule for the same ports, but this time using "UDP" instead of "TCP".

7. Run the server!
Now you can run the Valheim Dedicated Server tool. Wait until a message appears in the console that says "Game Server Connected". You and your friends can now join the server!
Note: if you're running the server on a different machine than you're playing the game on, then don't run the tool through Steam itself. Just find that "start_headless_server" file again in Windows Explorer, and double-click it to run the server. This way, you won't run into issues with Steam thinking you're running two games at once on the same account. You can create a shortcut for the file on your desktop for easier access in future.
How to join a Valhiem dedicated server
To join a Valheim dedicated server, select the character you wish to use, and then under the "Join Game" tab, select "Join IP", and then type in one of the following:
- If you're in the same house as the host machine: type the IPv4 Address and the Port, separated by a colon.
- If you're not in the same house as the host machine: type the External IP Address and the Port, separated by a colon.
For example, if you're in the same house as the host, then you might type something that looks like this: "192.168.0.99:2456".
After that you'll be prompted to enter a password if there is one - and then you'll load into the dedicated server. Easy!
And that's everything there is to know about setting up a Valheim dedicated server in a single page. We hope you found everything you needed here. Now why not take a look at our look at whether you should be running Valheim using Vulkan for extra performance benefits?