How to install a graphics card
Install a new GPU in five easy steps

The importance of the GPU in your gaming PC isn’t remotely reflected in the amount of effort required to plonk in a new one. While it's the component for making your games look all nice and shiny, installing a graphics card almost rivals installing RAM on simple, speedy straightforwardness, and if you’re following our how to build a PC guide, this will almost feel like a reward for finishing off the motherboard installation. Almost.
There are no brand-specific variances to worry about here, nor much of a risk of a botched install. Graphics cards always go in the highest-up PCIe slot on your motherboard – that’s the PCIe x16 slot, the fastest available – and the mechanism for locking it in place even gives you audible feedback to let you know you’ve done it correctly. The only requisites to keep in mind, and you’ll probably have already done this when buying the card, are that a) it fits inside your case and b) you have enough wattage pumping out of your PSU to adequately feed it. As long as you satisfied these concerns, installing a GPU is easy peasy.
Again, this is a job for your crosshead screwdriver – the same one you’ve used for everything else so far is fine – and is best performed with the PC case lying flat on its side, with the main internal chamber opened and facing up. Which is should already be, if you’ve just installed the motherboard. Convenient!

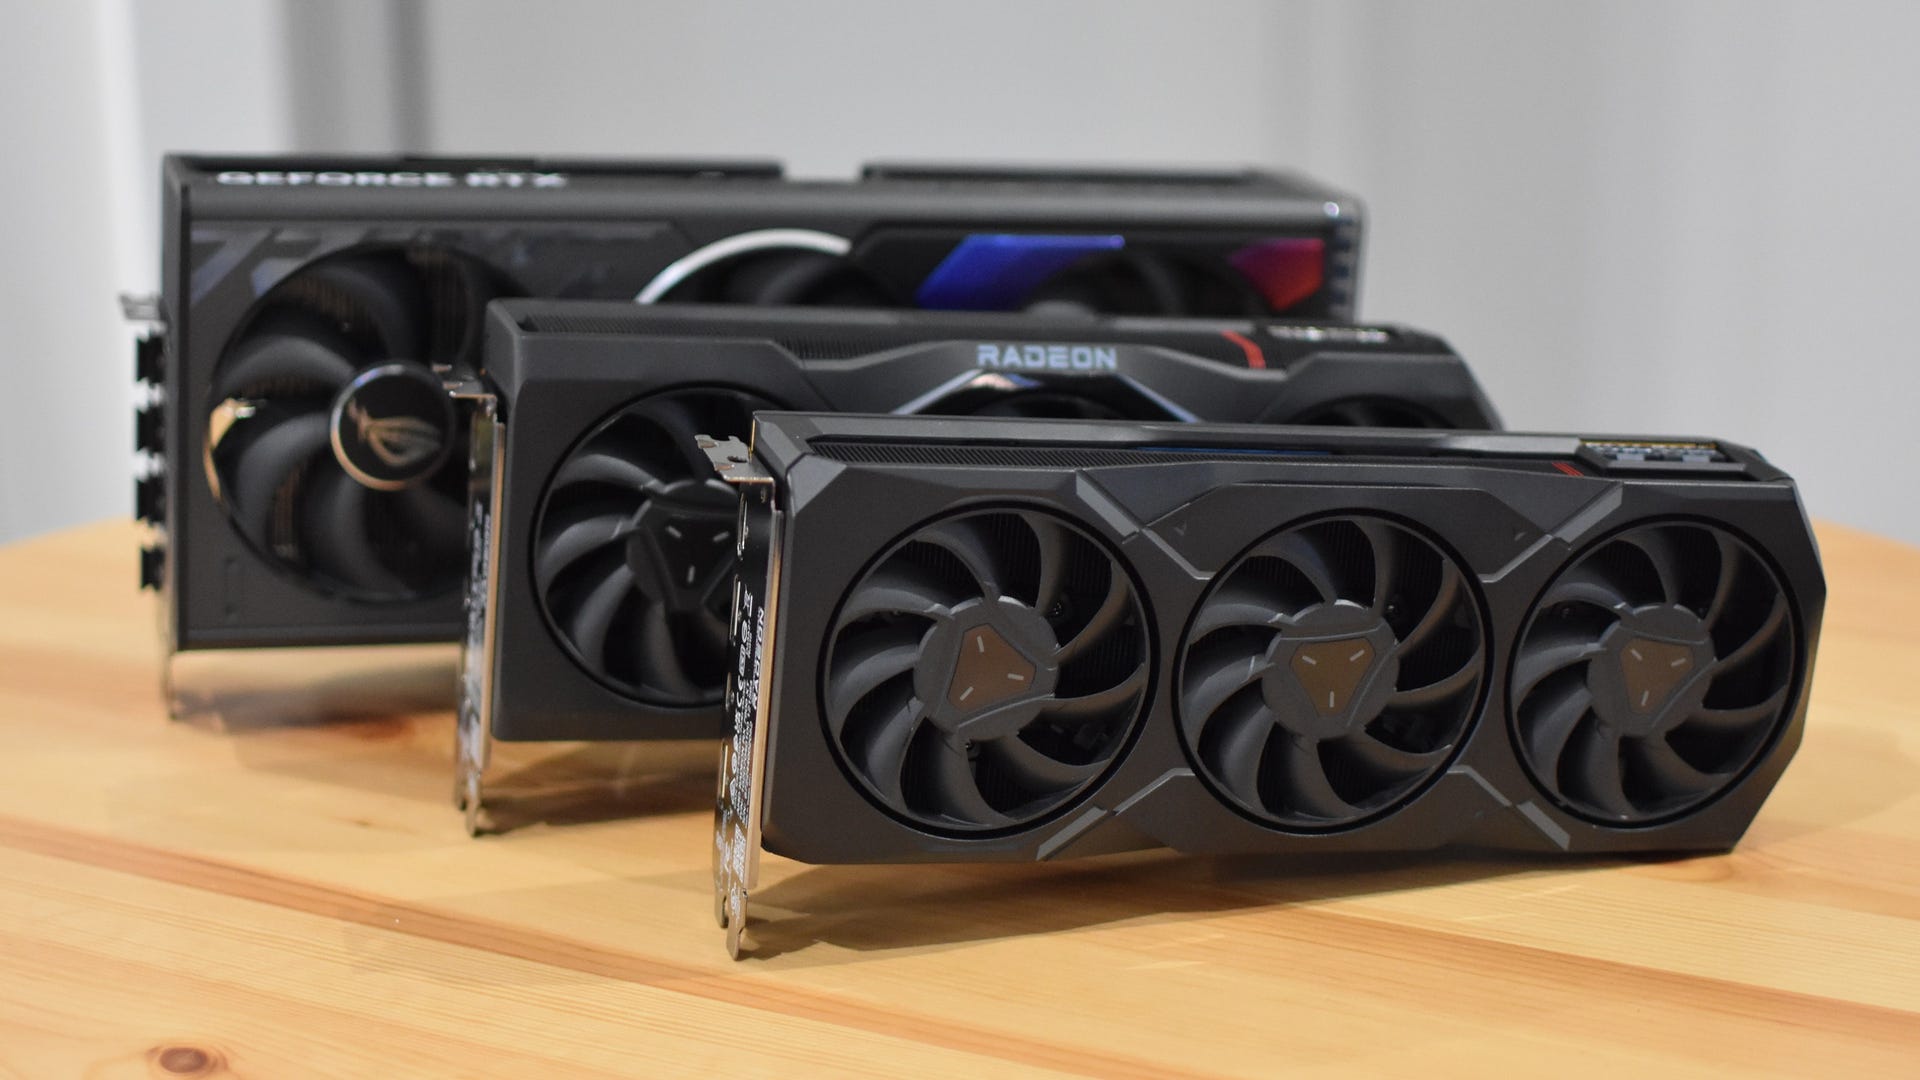
How to install a graphics card
Step 1: Your graphics card will have its display outputs facing out the PC’s rear once installed, so the first order of business is making room for it on the back panel. See the row of small metal slot covers back there, each held in with a screw? You’ll need to get rid of a few before the GPU can fill the resulting gap.
It helps to line up your card with the PCIe x16 slot on the motherboard – not to insert it just yet, but to see which of these slot covers you’ll need to remove. Most graphics cards only need two of these back panel slots, through some bigger models might need more. Grab your screwdriver and undo the screws to remove the covers, a process that may involve removing a larger plate that runs vertically along the side of these slots. Either way, be sure to keep any removed screws to hand. You’ll want those again in a moment.
.JPG?width=1920&height=1920&fit=bounds&quality=80&format=jpg&auto=webp)
Step 2: Back on the motherboard, you’ll find a little plastic latch to the right end of the PCIe x16 slot. Push this backwards, if it isn’t already, to permit the graphics card entry.
.JPG?width=1920&height=1920&fit=bounds&quality=80&format=jpg&auto=webp)
Step 3: Once again, line up your graphics card with the PCIe x16 slot, and this push it firmly into the slot. As long you angle it straight and true, the card should slip nicely into those pack panel slots, while the little latch snaps back into its original position. This produces a click, so listen out for it to make sure the card is fully nestled in the PCIe slot.
.JPG?width=1920&height=1920&fit=bounds&quality=80&format=jpg&auto=webp)
Step 4: It’s not fully secure yet, though. To stop the card from drooping under its own weight, you can fasten it down it at the back panel, using the same screws that held those plates in place. The card will have a small metal protusion that extends over this area; check that the holes in it align with the holes in the case, then thread through each screw and re-tighten them. If there was one of those vertical plates covering over these screws, you can replace that as well, though to tell the truth I don’t always bother. It's not essential to hold the graphics card in place.
.JPG?width=1920&height=1920&fit=bounds&quality=80&format=jpg&auto=webp)
Step 5: The final step is to give your GPU some power. Find the six/eight-pin PSU cable(s), which should be labelled either “PCIe” or “GPU”, and plug them into the six/eight-pin connectors on the card. Every single connector will need a cable going into it – don’t leave any empty.
.JPG?width=1920&height=1920&fit=bounds&quality=80&format=jpg&auto=webp)
A small number of GPUs, such as certain Nvidia GeForce RTX 30 series and 40 series cards, will need a PSU adapter instead of having the cables plug directly into the card. This adapter will come included with the card, so don’t worry about not having one in the PSU box. Just make sure that every socket on the adapter is filled by a six/eight-pin PSU cable.
That’s it, as far as the physical installation goes. You’ll also need to download and install the latest drivers for your graphics card, but that can and will have to wait until you’ve installed Windows and can boot to desktop.