How to install a CPU
Give Intel and AMD chips a new home
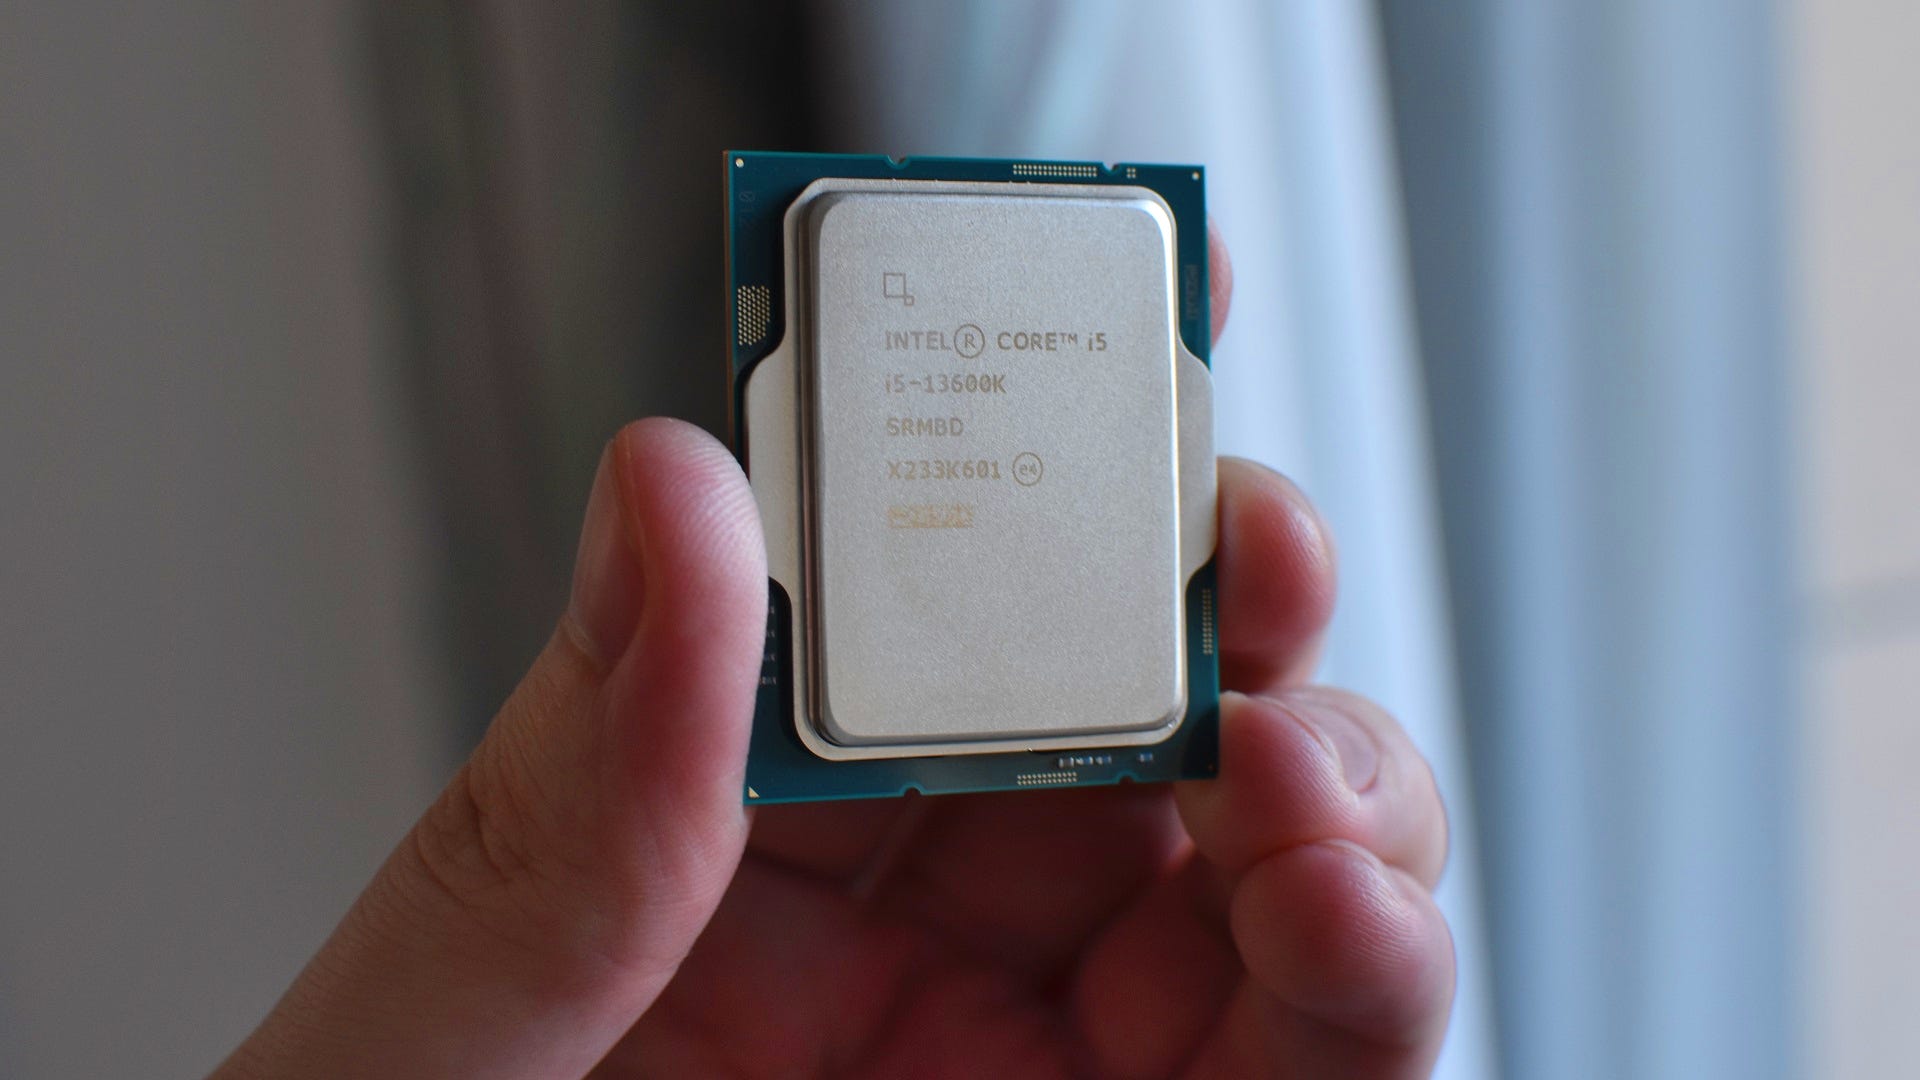

Our guide on how to build a PC kicks off with the brains of the operation: installing the CPU. It’s one of the quickest component installations on the list, too, even if it does take a certain degree of delicacy. It’d be a crying shame to invest in one of the best CPUs for gaming only to damage it through mishandling; fortunately, this is easy to avoid.
The process also varies slightly depending on which type of processor you’ve got. If you’re here to learn how to install an Intel CPU, for instance, you’ll find it involves gently dropping it into the socket on the motherboard before securing a metal enclosure over the top of it. AMD’s Ryzen 7000 chips work similarly, though older AMD CPUs lock into the socket using a distinct sliding mechanism. Don’t worry, though, as this guide will cover both socket types.
Installing the CPU is also one of several PC building steps that I recommend completing on the motherboard before you go about installing the latter in the case. This mainly just makes things generally easier – you have more space and light to work with outside of the case, and when the time comes, you can simply fit the mobo with components like the CPU and RAM already attached to it. If you’re nervous about setting your motherboard down on a hard desk, you can use the box it came in as an improvised workbench.
Now, onwards…
How to install a CPU
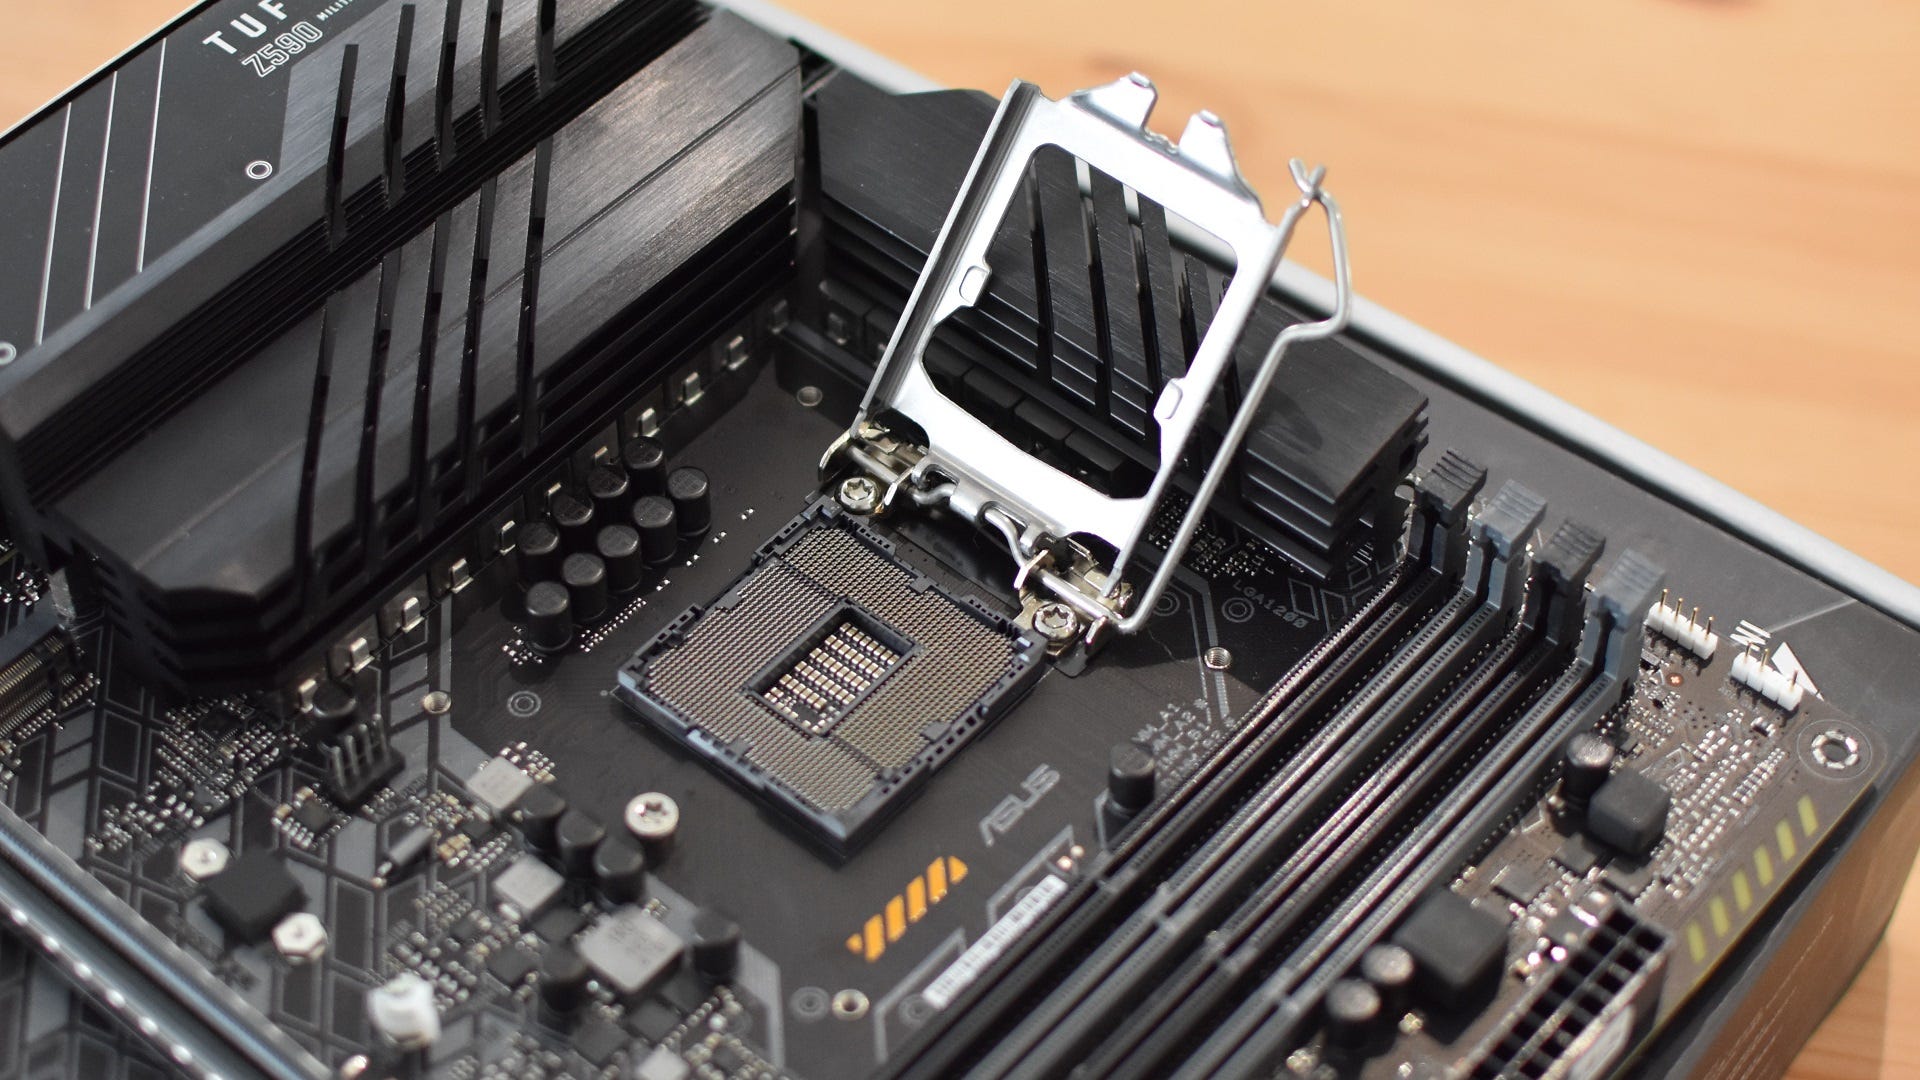
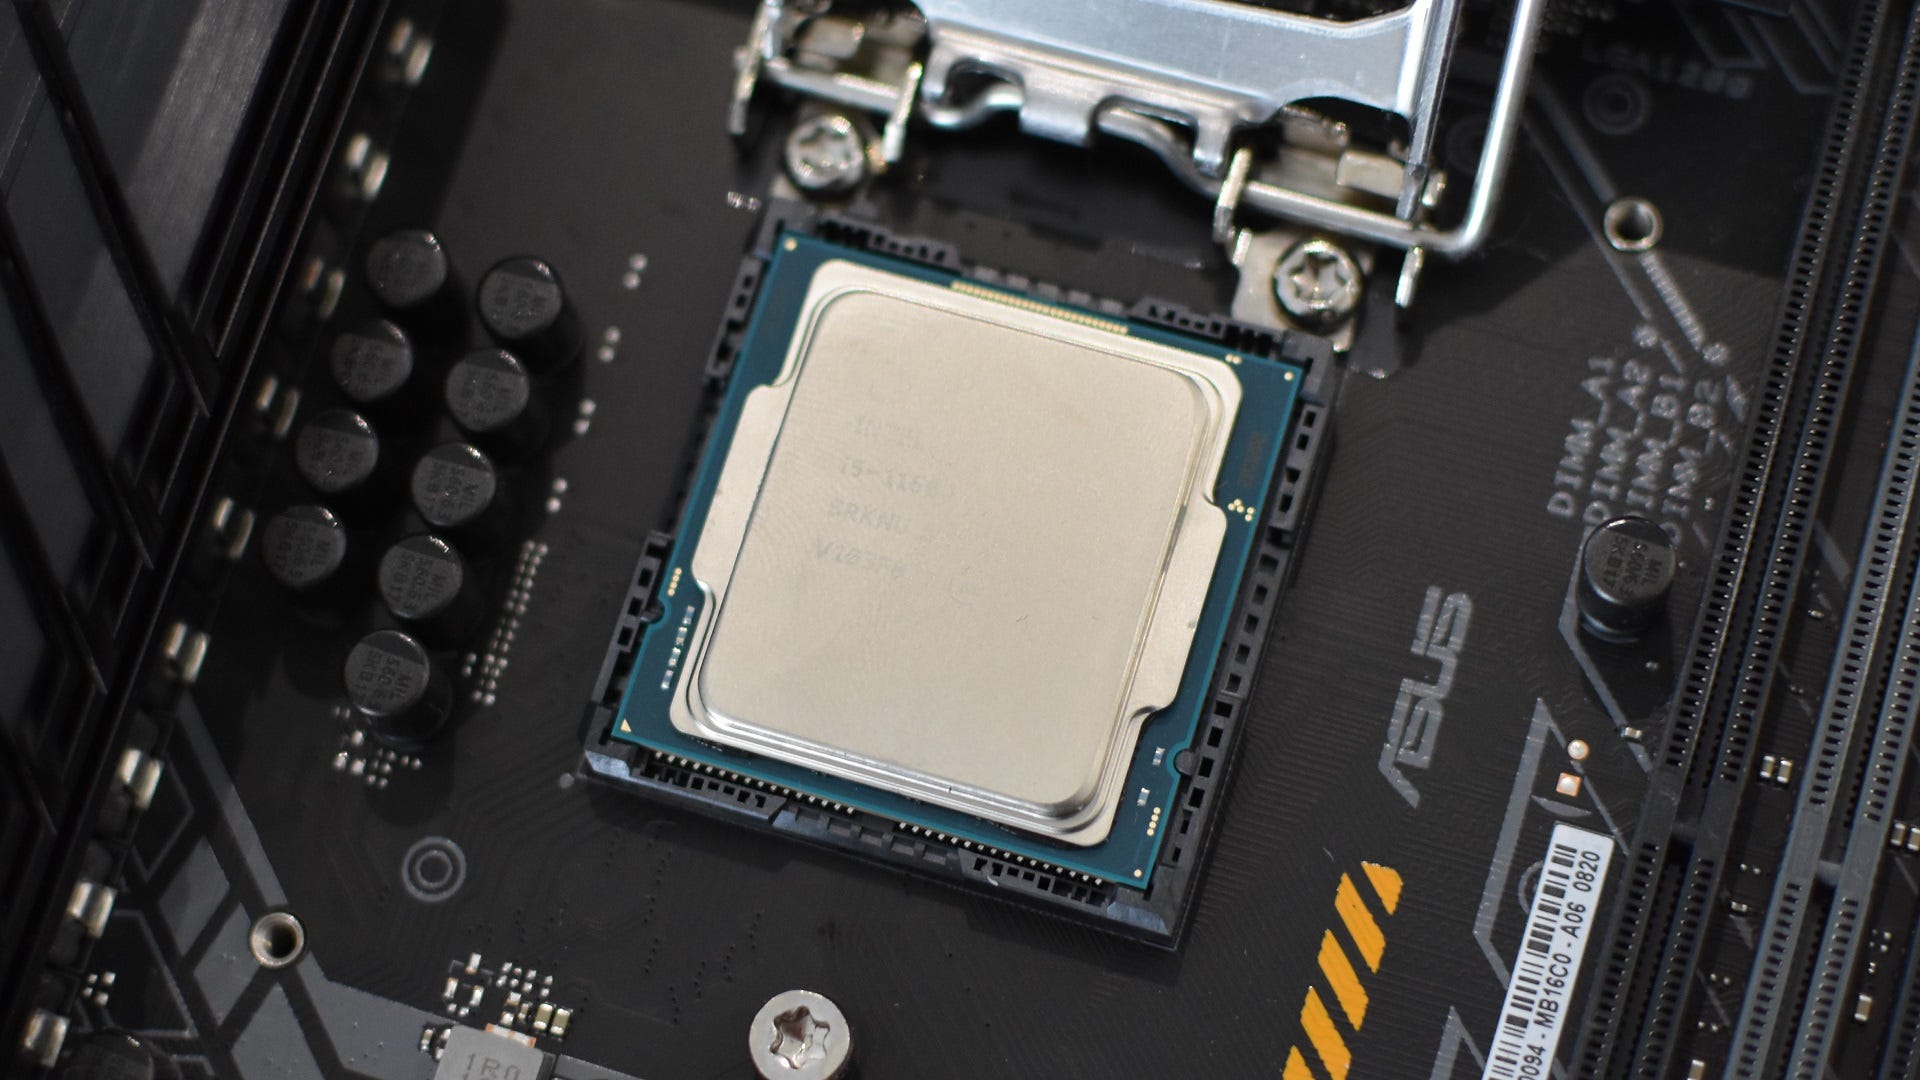
Step 1: Remove the plastic cover from your motherboard’s CPU socket – you can’t miss it, there’s only one and it’s CPU-sized – and lift the little metal lever next to it. For Intel sockets and the AM5 sockets used by Ryzen 7000 chips, this will release a frame-like metal cover from its locked position – lift this up so it’s no longer obscuring the socket.
On motherboards that take older AMD CPUs, lifting the arm will instead cause the plastic section of the socket to slide sideways. Not by much – less than a few millimetres – but be sure to lift the arm all the way up anyway.
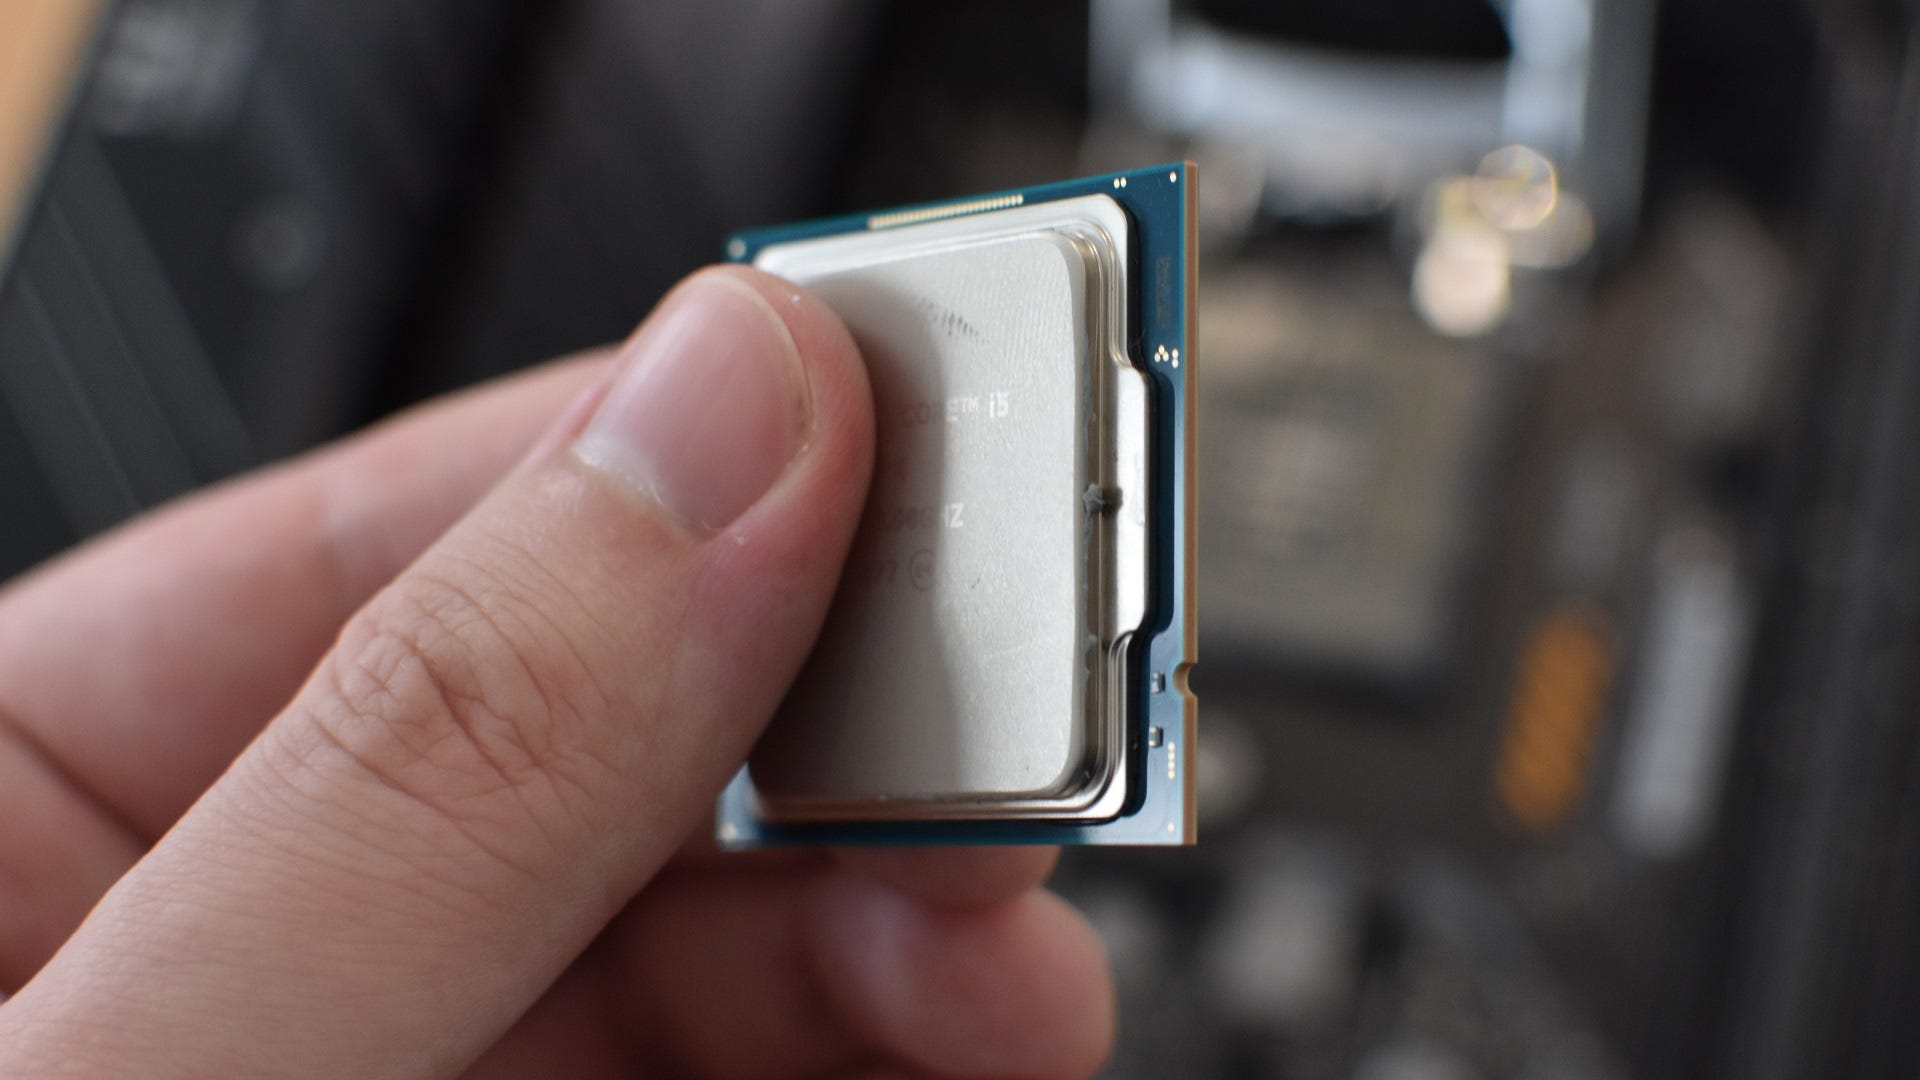
Step 2: The socket and the CPU are now ready to get to know each other. But you can’t just dunk the CPU in at any orientation. For Intel or Ryzen 7000 models, look for little notches around the edges of the CPU, then line them up with the small protrusions around the edge of the socket, so you know it’s going in the right way. Then, gently insert the processor so that it’s lying completely flat.
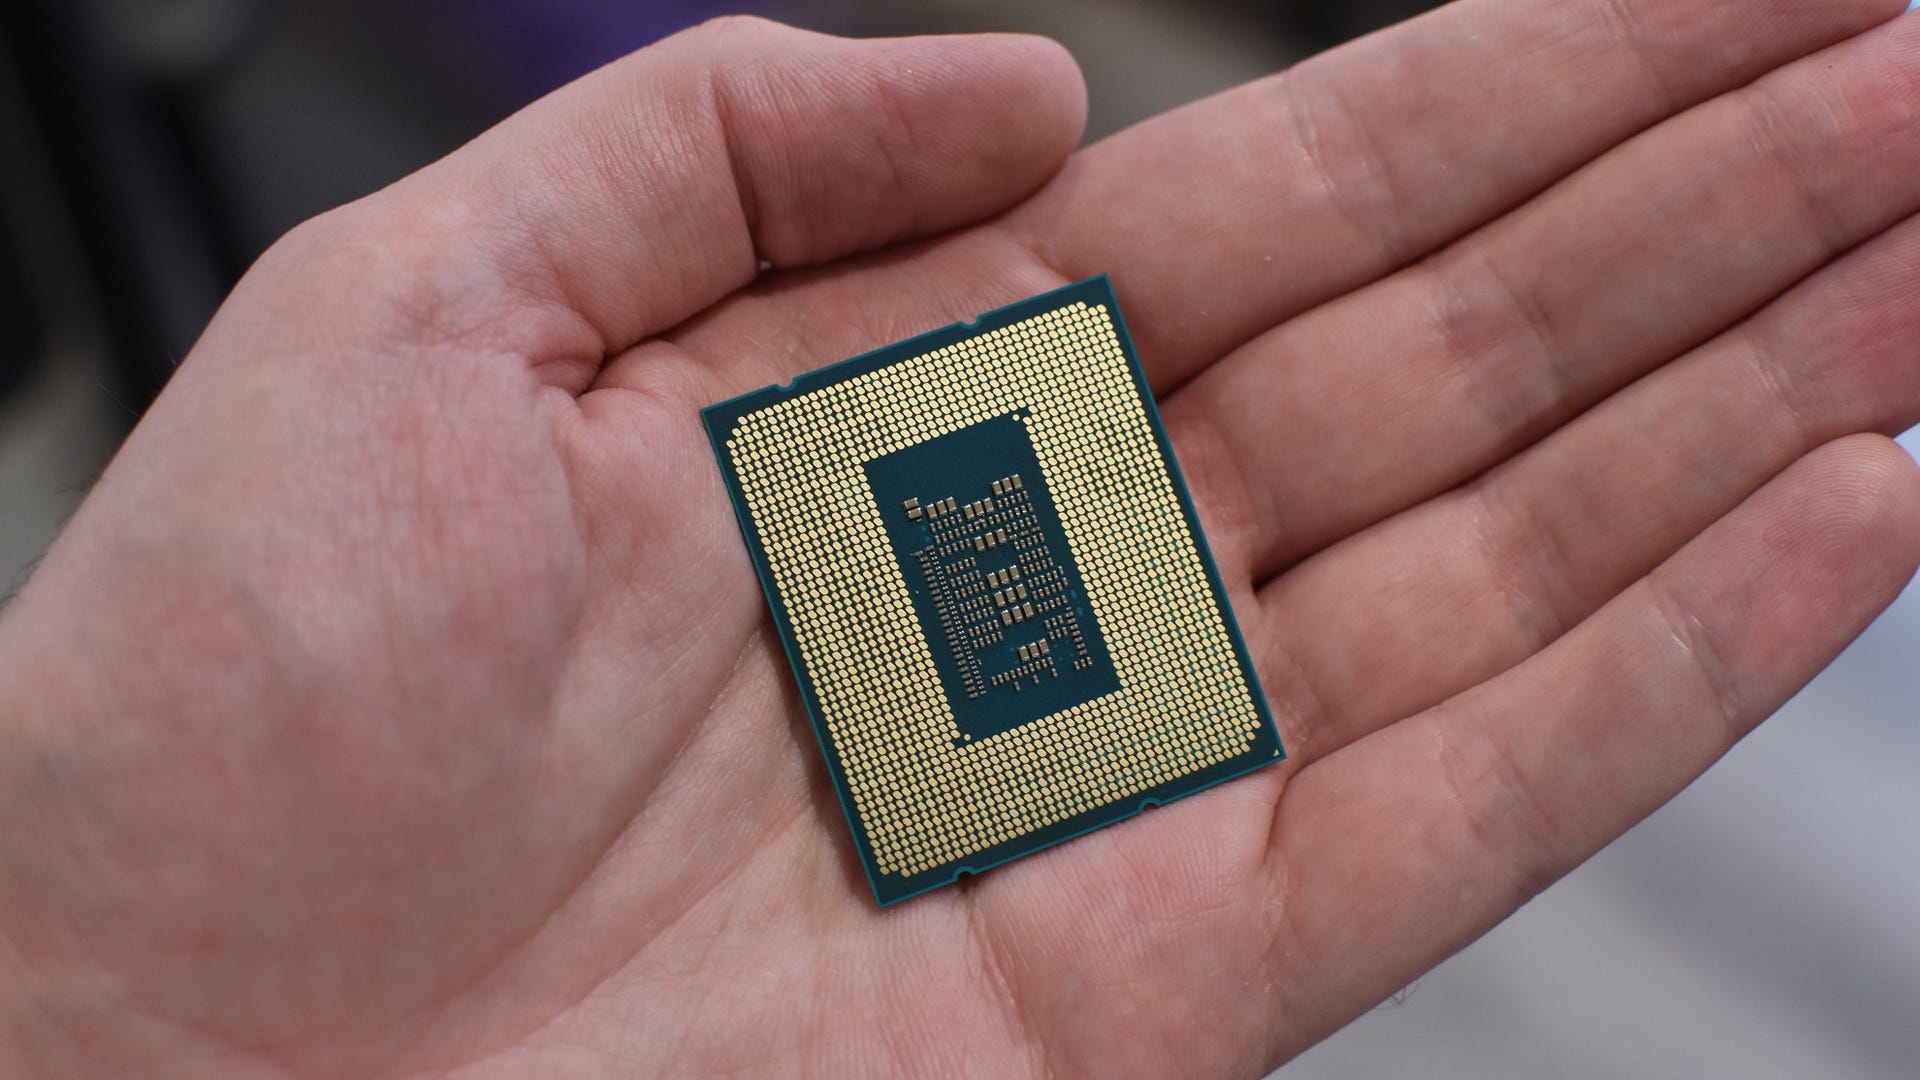
Older Ryzen CPUs don’t have these notches, so instead, line up the pins on the underside of the chip with the holes in the motherboard socket. You can tell if you’ve got the correct orientation because the pins should drop fully into the holes without resistance, leaving the CPU sitting perfectly flush with the socket.
Do not, for the love of all that is good in the world, try to force the CPU into the socket if it doesn’t slot in easily. Especially on pre-Ryzen 7000 AMD chips, as those pins on the underside can bend or even snap if you take too heavy a hand. And if even one pin isn’t straight, the whole CPU can’t be properly seated in its socket, rendering it kaput unless you can carefully un-bend the pins back to straightness. Without snapping them. Which is hard.
Intel and Ryzen 7000 chips have flat contact plates underneath, so the CPUs themselves aren’t at the same kind of risk, though you should treat both components with care regardless. There are still pins to avoid damaging: they’re just in the motherboard socket, not on the processor.
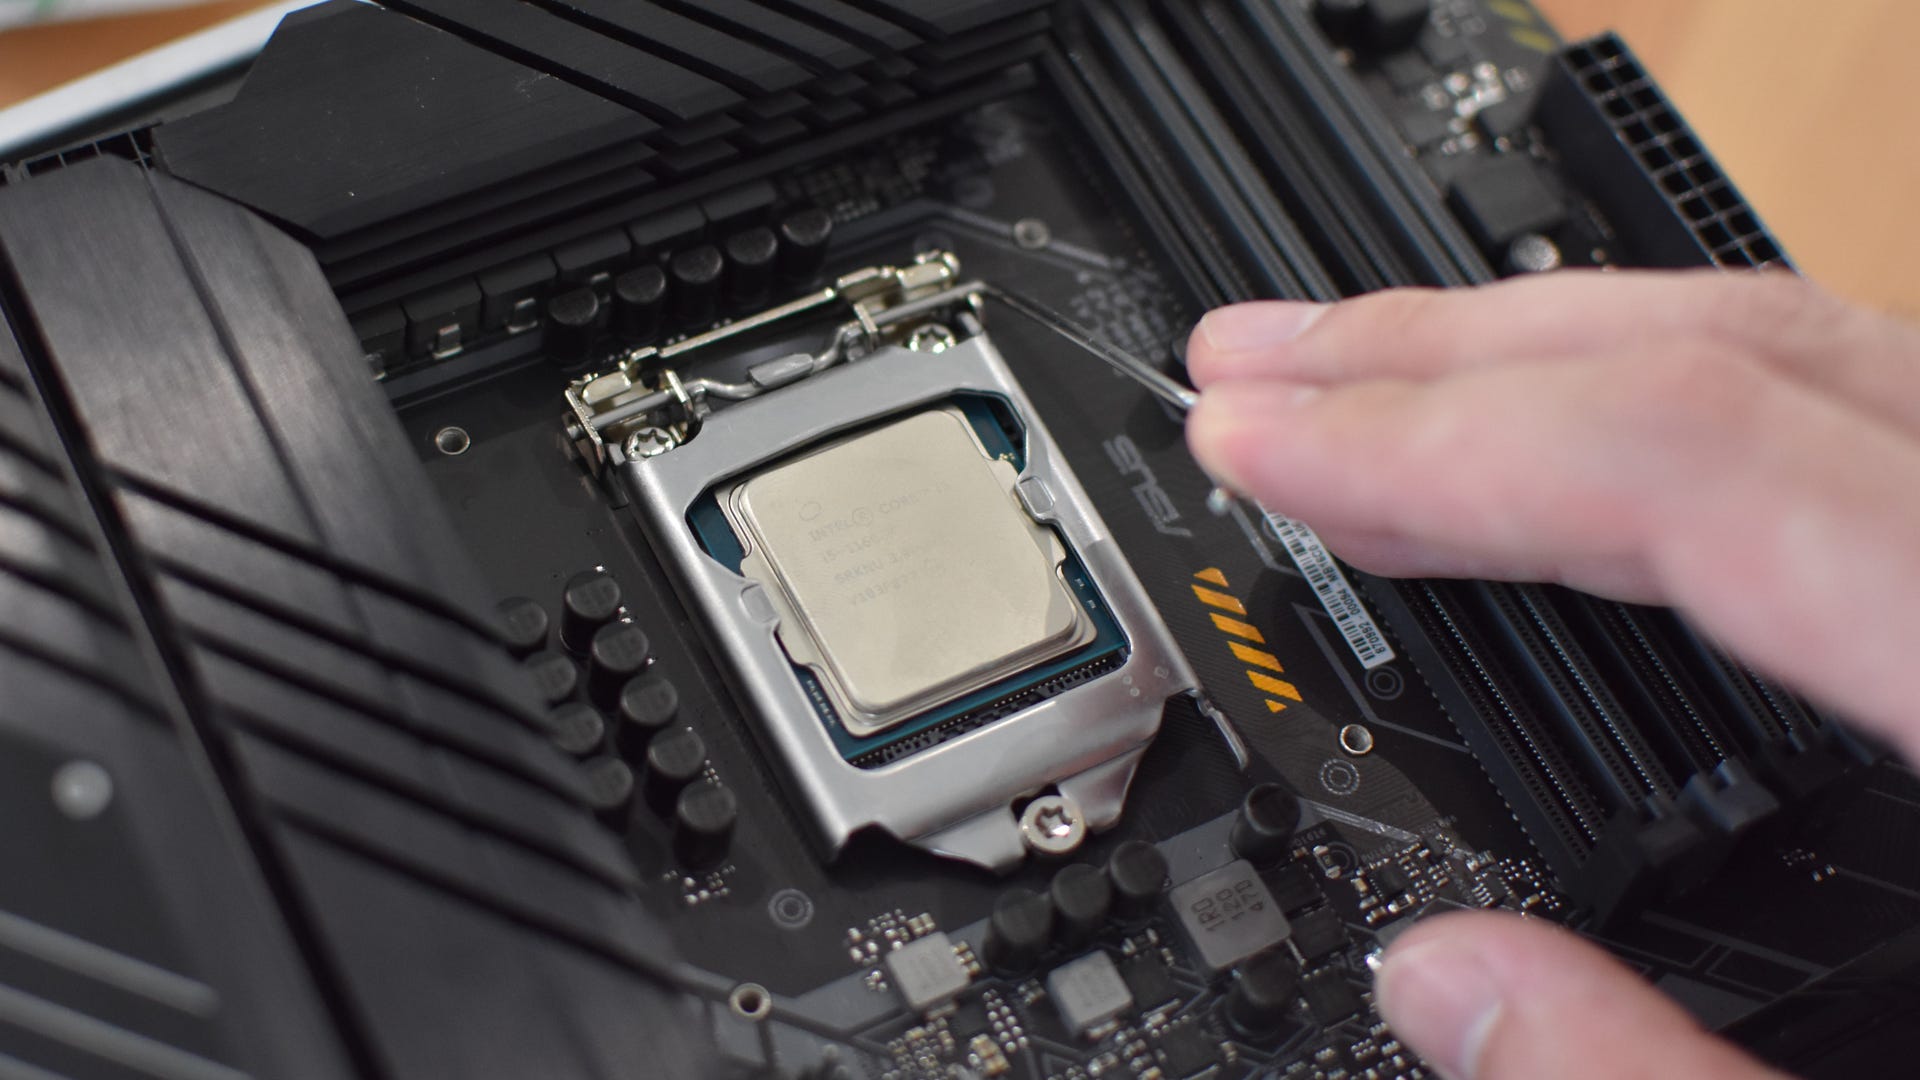
Step 3: Now that the CPU is sat in its socket, and you’ve sat through a safety lecture, all that’s left to do is secure the processor in place. For Intel/Ryzen 7000 CPUs, lower the metal cover back down to its starting position. Then, do the same with the metal lever. As you push the lever down and slip it back into its latch, you should feel the metal cover press down more firmly on top of the CPU, holding it in place.
It’s even easier with older AMD CPUs, as you just have to push down and secure the lever. This will move the socket back into its starting position, securing the CPU from within. If it feels like there’s a lot of resistance on the lever, double check that the chip is oriented correctly and that it’s sitting completely flat – trying to force the lever will bend the pins if the CPU is in the wrong position, but if you’re got it right, just keep pushing and it’ll be fine.
Right, that’s your first PC component installed! We’re not done with the processor yet, as the next stage of our PC building guide covers how to apply thermal paste and install a CPU cooler, but the chip itself is in place and secure.